Tuesday, September 25, 2012

Sauteed Baby Spinach with Garlic and Blue Cheese

There are times when I have leftover ingredients and need to play around in the kitchen to use them up.  A while back, I had about half a bag of baby spinach and perhaps half a cup of  crumbled blue cheese, and this is what I came up with.


It's very quick to throw together, and the amounts are adjustable depending on how many people you're serving.  Here's how I made it for two people.


Sunday, September 16, 2012

Cheese Pennies

I came across this recipe a while back.  I had been asked to provide a small appetizer-type item for an evening event at my church, and these seemed simple and quick.


The original recipe came from the Cookie & Biscuit Bible, and the only major difference between my cheese pennies and the Cheddar Pennies recipe was my choice of cheese and the amount of chili powder.


Saturday, September 8, 2012

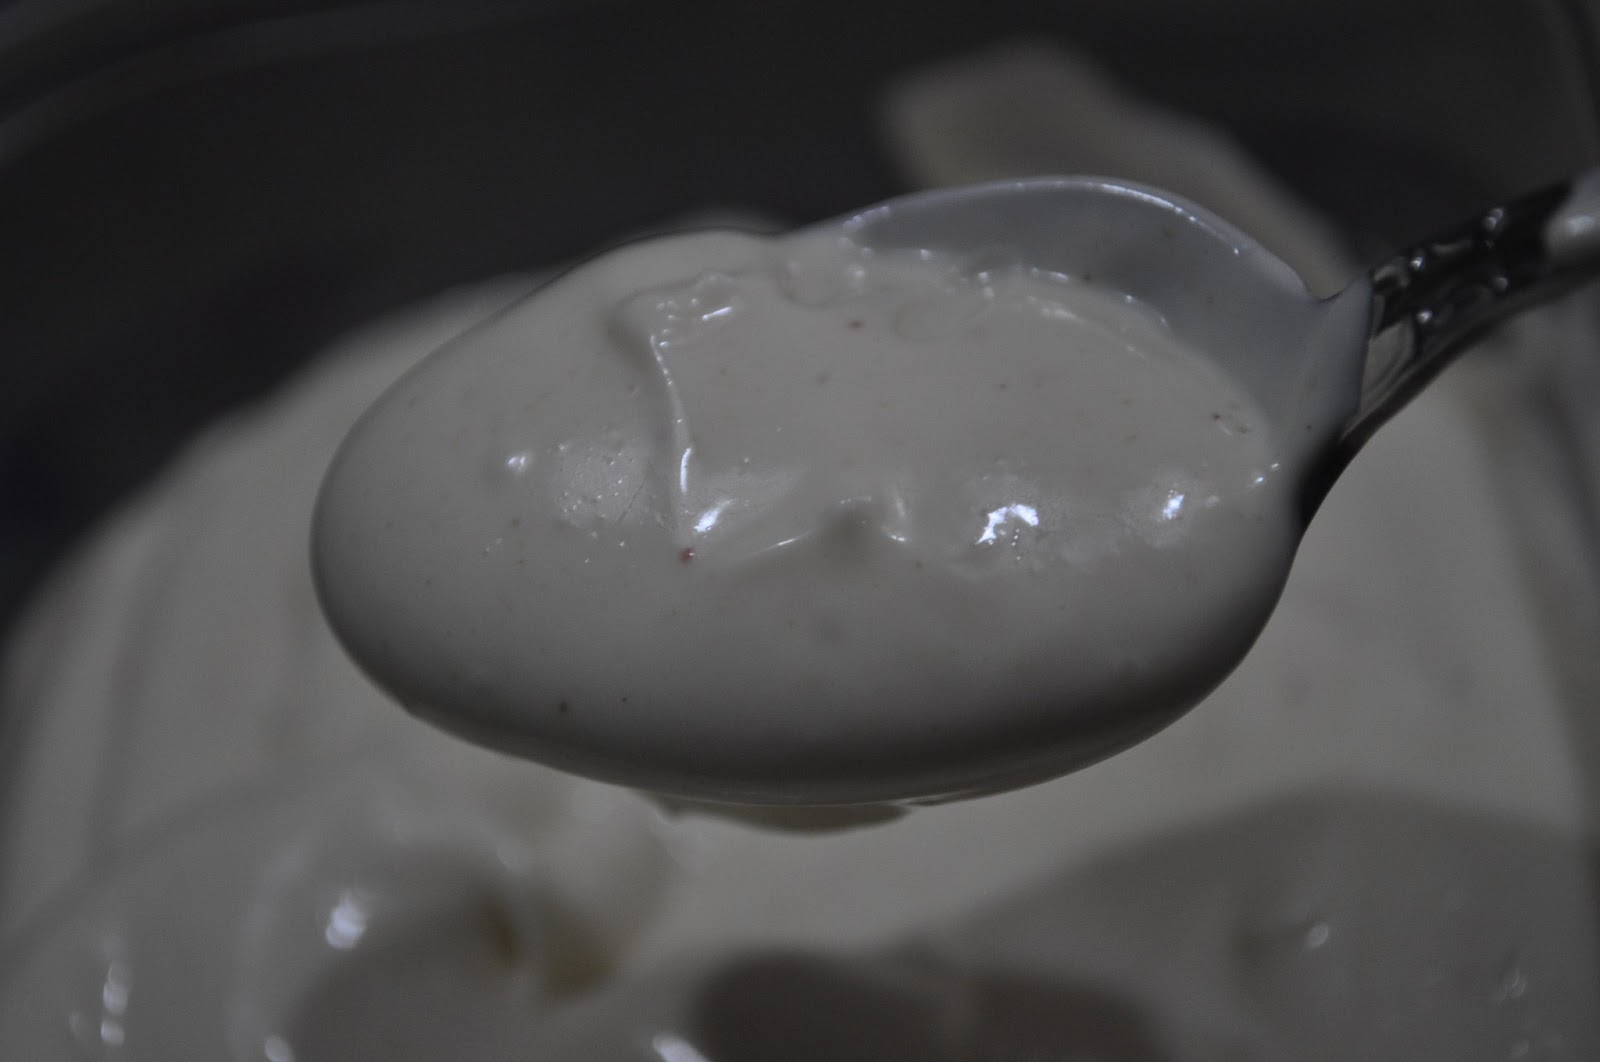
Homemade Mayonnaise (also known as, "Why didn't I try this before?")

I have never been a fan of mayonnaise.  It always skeeved me out, and I really can't tell you why.  I never put it on sandwiches, and the only food I would eat with any mayo-like product was macaroni salad.  I would buy small jars, as my husband will eat mayo, but they would sit in the fridge, half used, for months, until the next refrigerator-clean-out day.  Then I would toss them.

It's really a waste.

Recently, I decided to host a little dinner party and wanted to serve tomato sandwiches as an appetizer.  The recipe called for homemade mayonnaise.

I was a little skeptical.  But I would be mixing crumbled crispy bacon into the mayo before spreading it on the little finger sandwiches, and everything is better with bacon.  So I dove in.

And guess what?

I freaking love homemade mayonnaise!


Well, maybe love is too strong a word.  But I'll eat it.  And it's ridiculously easy to make just the right amount with my little food processor, probably better for you and definitely easier on the wallet (at least in terms of how much we actually go through).

There are a myriad of recipes out there for homemade mayonnaise, touting a variety of techniques.  The recipe I used came from The Savannah Cookbook, which offers directions for a hand method and a food processor method.  I went with the food processor method because there's less margin for error.

Monday, September 3, 2012

Homemade Peach Ice Cream

I totally love the ice cream maker attachment for my KitchenAid stand mixer.  It does amazing things.

Like help me make peach ice cream.


This happens to be the ice cream I used when I made those mini buttermilk vanilla cupcakes for my uncle's birthday a couple weeks ago.  The recipe came from The Savannah Cookbook.

Now, I'm not an ice cream snob who's going to turn up my nose at the mere mention of store bought ice cream.  But this homemade stuff is pretty dang good, and if you have the time, it's worth making.


Thursday, August 30, 2012

Buttermilk Vanilla Mini Cupcakes with Ice Cream (Cupcake of the Month Series #8)

*gasp* Two posts in one week!  Yes, I'm trying to catch up a bit, mostly to ensure that I share this month's featured cupcake.

It's a miniature buttermilk vanilla cupcake, topped with a tiny scoop of ice cream!


Now, the recipe card actually called for gelato, but that's not something easily found in my neck of the woods.  However, also didn't want to just throw any old store-bought ice cream on these baby delights, so I topped them with homemade peach ice cream instead.


Want to see how to make them?

Sunday, August 26, 2012

Mixed Berry Pie and Turnovers (OXO Product Review)

Wow, I've kind of fallen off the wagon with posts over the last couple weeks.  I apologize to my loyal readers.  To make it up to you, let me share a delicious new pie recipe and tell you about OXO's new cherry pitter design.

To make this pie...

...which involves delicious homegrown sweet cherries, blackberries, and blueberries...

...you need one of these.

But the design of the above pictured cherry pitter is awful.  I'd been using it for about three years now, and I never liked it.  The grip was too far apart to be comfortable for my hands, it wouldn't really come clean in the dishwasher and was a slight pain to wash by hand. Plus it splattered cherry juice everywhere - on my counter, down my arm, across my (apron-clad) front...

You get the idea.

But fresh cherry pies are so awesome, so you need a decent cherry pitter to make the pitting part easy.

I received OXO's newly designed cherry pitter recently and I have to say, it's pretty awesome.

For one thing, the distance between the hand grips is far, far smaller than on my old cherry pitter.  It's more ergonomically designed and thus more comfortable for pitting quart upon quart of cherries.  The overall design is a lot smarter too.

The prong (the thing that pushes through the cherry, I don't know if it has an actual name) is made of metal - probably stainless steel.  The little "cradle for the cherry is also a little more secure - I had no fears of the cherry falling out, which was a bit of a problem on my old pitter.  Plus, see that little plastic sleeve on the bottom there?  That's a splash guard.

So you don't spray yourself and your kitchen with cherry juice.

It works like a dream.


Plus, that little plastic guard comes off for easy cleaning - and like most OXO products, the whole thing is dishwasher safe.

And perhaps my favorite part (aside from the dishwasher safe thing) - there's a little locking mechanism that lets you lock the pitter closed for easy storage.  Takes up way less space in my drawer!

So, armed with this awesome OXO cherry pitter, what did I decide to make?

Well, that mixed berry pie, of course!

It was one of a dozen pies I made for a friend's wedding recently.

(This, by the way, is one of the reasons I haven't blogged much in the past couple weeks.  The other reason is getting my classroom ready.)

Anyway, the mixed berry pie was amazing, if I do say so myself.  Want to know how to make it?


Sunday, August 12, 2012

Nectresse Sweetener

This is a Sponsored post written by me on behalf of NECTRESSE™Sweetener. All opinions are 100% mine.

In our increasingly health-conscious world, many people are constantly on the lookout for alternatives to sugar for their favorite recipes or just to sweeten their coffee.  The makers of Splenda have recently come out with a brand new, all natural product - NECTRESSE™Sweetener

Nectresse is the only 100% natural sweetener made from monk fruit extract (which I learned is a type of melon), and it seems to be a pretty simple sugar substitute.  The primary ingredient is erythritol, a sugar alcohol that has been approved as a food additive and is a natural sugar substitute.  Now, before you start thinking that science is messing with you, erythritol occurs naturally in some fruits and was discovered in 1848 - so it's not particularly new.  It's just being used in a new way, I guess you could say.

If you want some quick facts about monk fruit, you can read some tidbits on the individual packets.

LIsa Ling has endorsed Nectresse as a suitable substitute for sugar for people with diabetes.  I imagine it would also be good for people who are otherwise trying to watch their calorie and sugar intake for general healthiness, but are seeking something all-natural.

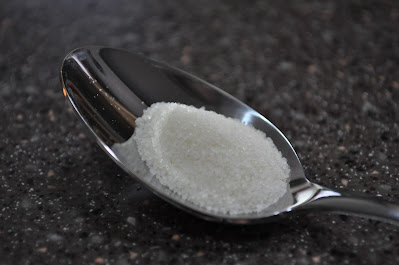
I had the opportunity to give this sweetener a try.  It's 150 times sweeter than sugar, so you use much less of it.  One packet of Nectresse is equal to two teaspoons of regular sugar.  They look surprisingly similar, except I found the Nectresse had a bit of a green tint to it.

SugarNectresse

Nectresse comes in individual packets, perfect to take with you when you're on the go, as well as in canisters for shaking, pouring, and scooping.

Nectresse product family.jpgNectresse product family.jpg

Nectresse can be substituted for sugar in cooking and baking. You can find lots of yummy sounding recipes at the Nectresse website. But I decided to give one of my recent recipes a bit of a Nectresse reboot, to see if it's really as sweet and versatile a sugar substitute as it claims.

A couple weeks ago, I posted my first foray into making Southern sweet tea, a beverage that by trade requires a lot of sugar.

A lot of sugar.

So, armed with a calculator and the internet (so I could figure out how many teaspoons of sugar are in a cup of sugar and then figure out how much Nectresse I needed), I developed a Nectresse version of Southern sweet tea.  I didn't go "full strength" on the sweetness because I didn't know for sure how the Nectresse would "behave" once I mixed it in.  But here's how I made it.

Nectresse Southern Sweet Tea

Ingredients

  • 1 quart boiling water
  • 2 Luzianne tea bags (the large size specially made for iced tea)
  • 12 packets NECTRESSE™Sweetener (it works out to be a little more than 1/8 of a cup - double the amount for "full test" sweet tea)
  • 1 quart cold water

Method

  • Pour boiling water over tea bags in a 2-quart pitcher.  Let steep for 3-5 minutes, longer if you want stronger tea.
  • Stir in NECTRESSE™Sweetener until dissolved
  • Pour in cold water and stir to combine.
  • Chill completely before serving

And the verdict?  Well, even though I had only done half-strength sweetness, it was still pretty dang sweet.  My husband said he thought there was a slight after taste - he could tell the tea wasn't made with real sugar.  But that didn't keep him from drinking most of the 2-quart pitcher.  I personally couldn't tell much of a difference between Nectresse and sugar in the sweet tea.

The best news? Diabetics can now enjoy real Southern sweet tea!  (Not that I think there are hordes of people with diabetes necessarily lamenting the lack of sweet tea in their lives, but now they have the option.)

Southern Sweet Tea made with Nectresse instead of sugar!

If you think you might like to try it, you can get a FREE sample of NECTRESSE™Sweetener through their website.  It's also available in stores.

Visit Sponsor's Site